Whether a Dremel Suits an Alaskan Malamute’s Nails
One of the most persistent struggles for Alaskan Malamute owners is managing those notoriously tough, fast-growing nails. It's not just a minor inconvenience; letting them get too long can cause serious discomfort, affecting your Mal's gait, leading to splayed feet, and even causing painful pressure on their joints. If you've ever wrestled with traditional clippers, trying to get through those thick, dark nails without "quicking" your beloved companion, you know the frustration is real. This guide dives deep into why a Dremel, or a similar rotary tool, might just be the game-changer you need for your Malamute's paw care, offering detailed insights into its benefits, usage, and how to make it a positive experience for both of you.
The Unique Challenges of Malamute Nail Care
Let's be honest, clipping a Malamute's nails often feels less like routine grooming and more like a wrestling match with a fur-covered yeti. Their nails are designed for digging and traction, which means they're incredibly strong and thick, making them a formidable opponent for standard clippers. Many Malamute owners have felt that sinking feeling when you hear that crunch that's a little too loud, or worse, see a tiny speck of blood, leaving you feeling guilty and your dog wary.
Why Clippers Often Fall Short for Malamutes
The sheer density and often dark pigmentation of an Alaskan Malamute's nails are the primary culprits. Unlike breeds with clear, thin nails where the quick (the sensitive part containing nerves and blood vessels) is visible, a Malamute's nails can be opaque, hiding the quick and making it a guessing game. This isn't just about appearance; it's about structure. Their nails are not only thick but often have a dense, bony core that can be difficult to cut cleanly with clippers.
When a clipper crushes rather than slices, it can splinter the nail, leading to painful cracks or infections. Even the sharpest clippers can struggle, requiring excessive force that can be unsettling for your dog. Imagine the sensation of someone squeezing your finger too hard before cutting – it's no wonder many Malamutes develop an aversion to the clippers. This difficulty often leads to owners trimming less frequently than needed, which only exacerbates the problem as the quick grows longer with the nail, making it even harder to trim back to a healthy length.
The Fear Factor: It's Not Just Your Malamute's Anxiety
It's easy to think your Malamute is just being stubborn, but often, their reluctance comes from past discomfort or even pain. A quicked nail is memorable for a dog, and the sound and sensation of clippers can become a strong negative association. We, as owners, also carry this fear. That dread of causing pain can make us hesitant, leading to quick, rushed jobs or avoiding the task altogether. This creates a vicious cycle: less frequent trims mean longer nails, which are harder to trim, increasing the risk of quicking, and further reinforcing negative associations for both of you.
This isn't about blaming anyone; it's about recognizing the inherent difficulty. Malamutes are intelligent and often sensitive to discomfort. If nail trims are a traumatic experience, it's not a reflection of their "bad" behavior, but a natural response to an unpleasant procedure. Understanding this is the first step towards finding a better solution, one that reduces stress and makes paw care a manageable part of What an Alaskan Malamute Needs Every Day.
Enter the Dremel: A Grinding Solution for Tough Nails
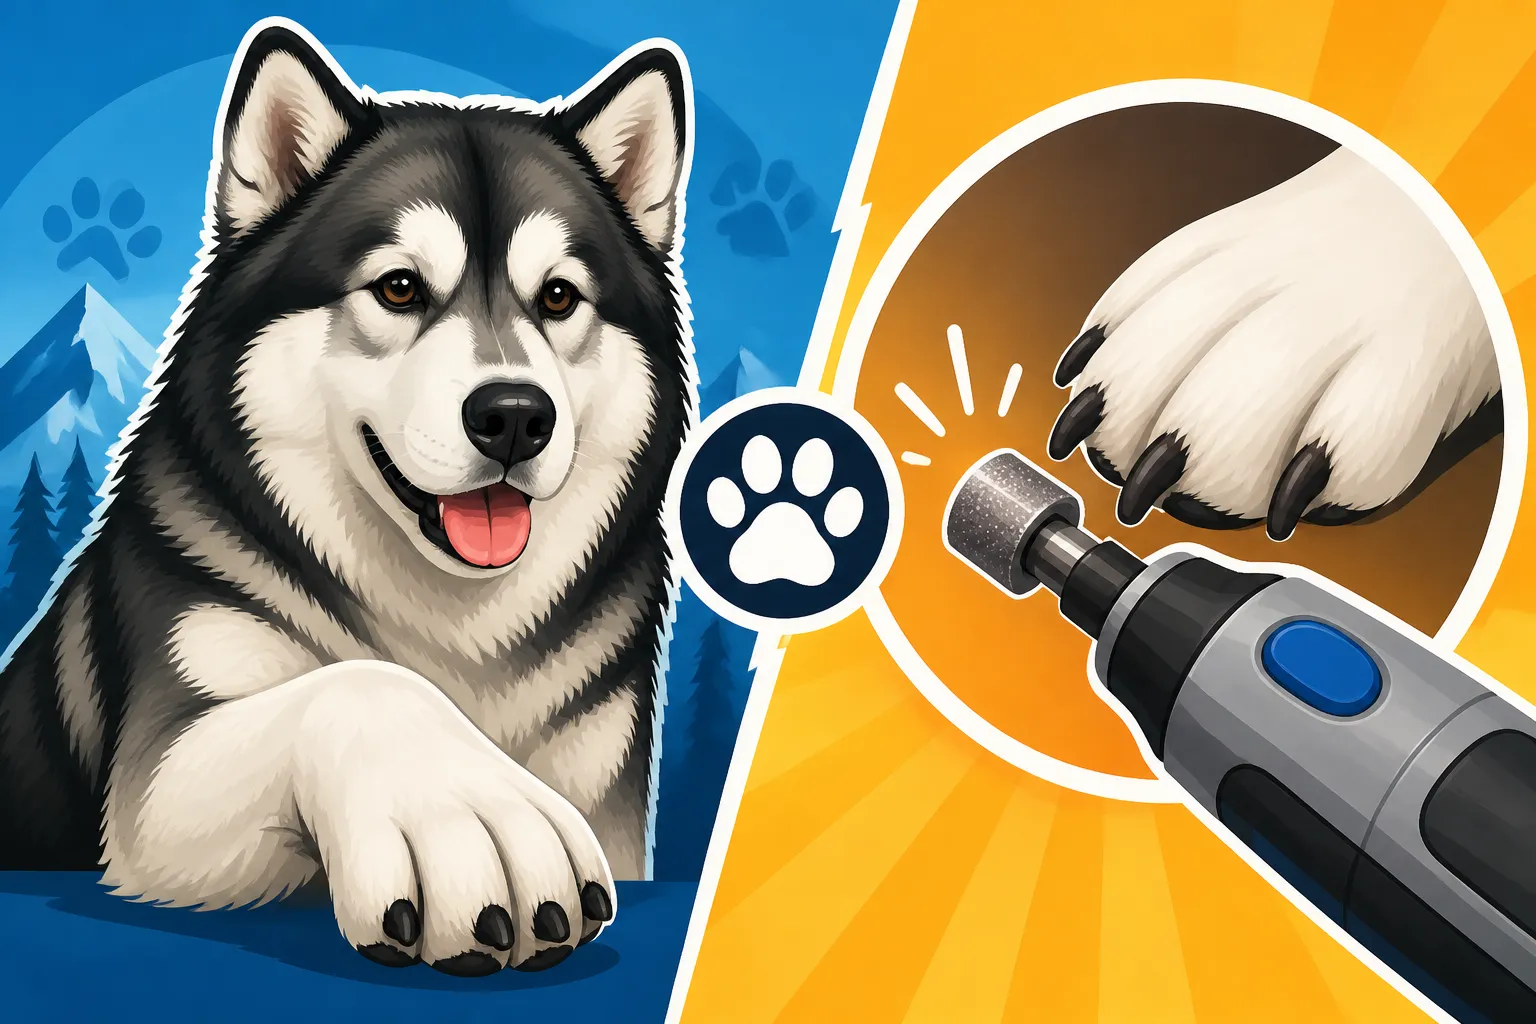
For many Alaskan Malamute owners, the Dremel (or a similar brand of rotary nail grinder) has been nothing short of a revelation. Instead of a sharp, sudden clip, a Dremel grinds the nail down gradually, offering a more controlled and less intimidating approach to nail care. This method is particularly well-suited for Malamutes with their robust nails, allowing for precise shaping and a smoother finish.
How a Rotary Tool Works on Tough Nails
A Dremel uses a rotating abrasive bit, typically a sanding drum or grinding stone, to file down the nail. This grinding action removes small layers of nail at a time, rather than attempting to sever the entire thickness in one go. This is a game-changer for thick Malamute nails because it eliminates the crushing pressure associated with clippers. You're gently abrading the nail, not squeezing it.
This gradual removal also makes it easier to manage the quick. By observing the nail as you grind, you can see the quick's progression and stop before reaching it. Many owners find that with consistent Dremel use, the quick will actually recede over time, allowing the nails to be trimmed shorter and shorter, ultimately leading to healthier, more comfortable paws for their Malamute, especially important for breeds that spend a lot of time on their feet, like those involved in freighting or pulling. You can learn more about proper paw care in Feet, Pads and Nails on an Alaskan Malamute That Pulls.
Choosing the Right Dremel and Attachments
When it comes to selecting a Dremel, you have options. While the brand name "Dremel" is often used generically, several companies make excellent rotary tools. Look for models designed for pet use or those with variable speeds, which are crucial. A lower speed setting can help with desensitization and precision, while higher speeds can be used for faster grinding once your Malamute is comfortable.
Here's what to consider:
- Corded vs. Cordless: Cordless models offer more flexibility and no tripping hazard, but corded models typically provide consistent power without needing to recharge. For a wiggly Malamute, cordless might be less cumbersome.
- Variable Speed: Absolutely essential. You want to start slow and increase speed as needed.
- Motor Strength: A stronger motor will prevent the grinder from bogging down on tough nails.
- Abrasive Bits: Dremels usually come with sanding drums or grinding stones. Sanding drums with a fine to medium grit are generally good for starting. You can purchase replacement sanding bands or different grit sizes from retailers like Chewy or Amazon, allowing you to experiment to find what works best for your dog's nails. Some even come with a transparent safety cap to collect dust and hair, which can be helpful.
| Feature | Traditional Nail Clippers | Dremel/Rotary Grinder |
|---|---|---|
| Method | Cuts/severs the nail in one squeeze | Grinds down layers of nail gradually |
| Sound | Sharp 'snip' or 'crunch' | Buzzing or whirring noise |
| Vibration | Minimal, sudden pressure | Gentle vibration against the nail |
| Precision | Less precise, harder to see the quick | High precision, easier to gradually approach the quick |
| Finish | Can leave sharp edges or splinters | Smooth, rounded edges |
| Quick Risk | High, especially with dark nails | Lower, with careful observation and gradual grinding |
| Fear Factor | Often high for both dog and owner | Can be high initially due to sound/vibration, but manageable with desensitization |
| Maintenance | Keep blades sharp | Replace sanding bands/grinding stones as they wear out |
Gentle Introduction and Training for Success
The thought of introducing a buzzing, vibrating tool to your Malamute's sensitive paws might seem daunting, especially if they already hate clippers. But here's the secret: it's all about positive reinforcement and patience. Remember, Why Force Fails on an Alaskan Malamute. We're aiming to create a positive association, not another traumatic experience. This process takes time, sometimes weeks or even months, but the payoff of a calm dog during nail trims is immeasurable.
The Desensitization Process
Start incredibly slow, breaking the process down into tiny, achievable steps.
- Introduce the Dremel (Off): Let your Malamute see and sniff the tool while it's turned off. Place it near them during meal times or when they're relaxed. Give praise and high-value treats just for being near it.
- Introduce the Sound (Away): Turn the Dremel on to its lowest setting in another room or far away from your Malamute. Let them hear the sound. Immediately give treats and praise. Gradually bring the tool closer over several sessions, always associating the sound with positive things like treats or playtime. Don't even point it at their paws yet.
- Introduce the Vibration (Near Body): Once they're comfortable with the sound, turn it on and touch the back of the Dremel (the non-grinding end) to their shoulder or hip for just a second. Immediately treat and praise. Do this repeatedly, moving to different parts of their body, getting them used to the vibration without focusing on their paws.
- Touch the Paws (Off): Start handling their paws frequently, separate from the Dremel. Touch each nail, gently squeeze the toe pads. Treat generously for calm acceptance.
- Touch the Paws (Off, with Dremel): Hold the Dremel (still off) against their nails, one at a time, for a second. Treat and praise. This helps them associate the feel of the tool with their paw.
- Quick Grinds (One Nail, Low Speed): When they are completely comfortable with all the above steps, turn the Dremel on to its lowest speed. Touch it to just one nail for a split second. Immediately remove and offer a jackpot of treats and praise. The goal isn't to remove much nail, but to make the brief contact positive. If they pull away or show discomfort, go back a step. Repeat this once or twice, then end the session on a positive note.
- Gradual Increase: Over subsequent sessions, slowly increase the duration of grinding time per nail, and gradually work on more nails. Always keep sessions short and positive. If your Malamute shows The Age an Alaskan Malamute Tests Its Owner tendencies by resisting, go back to basics and reinforce the positive association. Remember, consistency is key, and every interaction should reinforce that the Dremel means good things are coming. For puppies, starting early with handling and sound desensitization, as outlined in The First Year With an Alaskan Malamute Puppy, can make this process much smoother.
Rewarding Patience and Progress
High-value treats are your best friend during Dremel training. Think soft, stinky, irresistible treats like bits of cheese, cooked chicken, or liver paste. These aren't your everyday kibble; these are the "holy grail" rewards that make even an independent Malamute think, "Hmm, this buzzing thing isn't so bad if that comes after it."
Every step, no matter how small, deserves a reward. Did they tolerate the sound for an extra second? Treat! Did they let you touch the Dremel to their paw for the first time? Treat! Did they let you grind one nail for a fleeting moment? Jackpot! What an Alaskan Malamute Will Work For is often high-value food, so leverage that. End every session on a positive note, even if you only managed one nail. The goal is consistent, positive experiences that build trust and reduce anxiety over time. Patience is paramount, and rushing the process will only set you back further.
The Benefits and Best Practices of Dremel Use
Once you and your Malamute have mastered the Dremel, you'll likely wonder how you ever managed without it. The advantages of grinding over clipping are numerous, leading to healthier nails and a much more harmonious grooming routine.
Why Grinding is Superior to Clipping for Many Malamutes
The primary benefit of a Dremel for Malamutes is its ability to get the nails shorter and smoother than clippers typically can. When you clip, you get a blunt, often sharp edge. With a Dremel, you can round the edges, preventing snags and making the nail less likely to catch on carpets or furniture. This also makes the nails safer for you and your family, especially when your Malamute inevitably nudges you for attention.
More importantly, consistent Dremel use allows the quick to recede further back into the nail. Each time you grind, you're not just removing the tip; you're encouraging the quick to withdraw, gradually shortening the overall length of the nail. This is crucial for Malamutes, as overly long nails can contribute to splayed toes, discomfort, and even long-term joint issues by altering their natural standing and walking posture. A shorter, well-maintained nail means a more comfortable and agile Malamute. This is a common concern for owners wondering Whether a Malamute Tolerates Nail Trims with traditional methods.
Maintaining Your Malamute's Paws with Regular Grinding
Regularity is key to effective Dremel use and optimal paw health. For most Malamutes, grinding every 1-2 weeks is ideal. This frequency prevents the nails from getting too long, helps the quick recede, and keeps the process quick and easy for both of you. If you go too long between sessions, the nails can become overgrown, and the quick will extend again, making the job harder.
When grinding, make sure you're working in a well-lit area so you can clearly see the different layers of the nail. As you grind, you'll see a white outer layer, then possibly a darker, more translucent layer, and eventually, a small dark circle in the center—that's the quick. Stop before you reach the quick! Work on short bursts of grinding (2-3 seconds per nail), then move to the next. This prevents the nail from getting too hot, which can be uncomfortable for your dog. You might notice a fine dust; this is normal.
Don't forget the dewclaws (if your Malamute has them). These nails don't touch the ground and therefore don't wear down naturally, making them prone to growing into the paw pad if neglected. Grinding them is just as important as the main nails. Incorporating Dremel sessions into your regular grooming routine will ensure your Malamute's paws remain healthy and strong throughout their life, easing concerns for senior dogs as well, which is an important aspect of Caring for an Old Alaskan Malamute. The initial investment in a Dremel and the time spent on training are well worth it, contributing significantly to The Full Cost of Twelve Years With an Alaskan Malamute in terms of comfort and preventative care.
Disclaimer
This article is for general informational purposes only and does not constitute professional advice. Laws, prices and regulations vary by location and change over time. Consult a qualified professional for guidance on your specific situation.