Which Brush Gets Through a Malamute’s Undercoat
If you've ever owned an Alaskan Malamute, you know the feeling: you vacuumed yesterday, and today there's enough fluff to knit a small sweater. Managing that incredible, insulating double coat, especially during a full-blown "coat blow," can feel like an endless battle. This guide is here to walk you through the essential tools and techniques that will help you tackle that mighty undercoat, keep your Malamute comfortable, and maintain some semblance of order in your home.
Understanding the Mighty Alaskan Malamute Undercoat
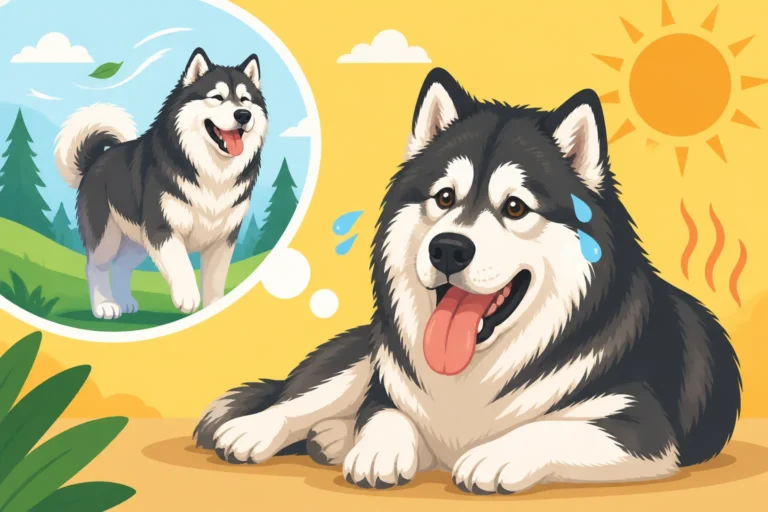
Let's face it, the Malamute's coat isn't just hair; it's a marvel of Arctic engineering. This isn't your average dog's fur. It's designed to keep them warm in temperatures that would make most other breeds shiver uncontrollably. But what makes it so amazing for them also makes it a monumental task for us to manage when it starts coming out.
The Double-Coated Challenge
Your Malamute's coat consists of two distinct layers, each with its own purpose. First, there's the coarse, protective outer guard coat. This layer is fairly straight, stands off the body, and acts as a barrier against snow, ice, and harsh winds. It repels water and prevents moisture from reaching the skin. Underneath that, closer to the skin, lies the star of our show: the incredibly dense, soft, and woolly undercoat. This is the insulating layer, trapping air and body heat to keep your Malamute toasty warm in sub-zero conditions.
The challenge truly begins when this undercoat starts to "blow" – a process that typically happens twice a year, usually in spring to shed the thick winter coat, and again in the fall to prepare for winter. During these periods, your Malamute will shed copious amounts of this woolly undercoat, often in large clumps, and it feels like it just keeps coming. It can be overwhelming, and many new Malamute owners are genuinely shocked by the sheer volume of hair. This shedding isn't just a nuisance; if the dead undercoat isn't removed, it can mat, trap moisture, and lead to skin irritations or even infections.
Why Regular Brushing Isn't Just for Looks
Beyond the obvious benefit of reducing tumbleweeds of fur in your living room, regular and thorough brushing plays a crucial role in your Malamute's health and comfort. That dense undercoat can easily become a breeding ground for problems if neglected. Imagine wearing a heavy wool sweater that you can't take off, and it's full of old, dead fibers that are itchy and pulling on your skin. That's what a Malamute feels like with an unmanaged undercoat.
Brushing helps to distribute natural skin oils, promoting a healthy coat and skin. More importantly, it removes the dead hair that, if left in place, can become matted, especially behind the ears, under the legs, and around the tail. Mats pull on the skin, causing pain and discomfort, and can hide skin issues, parasites, or infections. Consistent grooming also allows you to regularly check your Malamute's skin for any abnormalities like rashes, lumps, or dry patches, which is vital for their overall well-being. Keeping that undercoat under control is one of the most important aspects of What an Alaskan Malamute Needs Every Day.
Essential Brushes for Conquering the Undercoat
Alright, let's talk tools. Walking into a pet store or browsing online can be overwhelming with the sheer number of brushes available. For an Alaskan Malamute, you need specific tools designed to handle that unique double coat, not just any old brush.
The Workhorse: Undercoat Rake
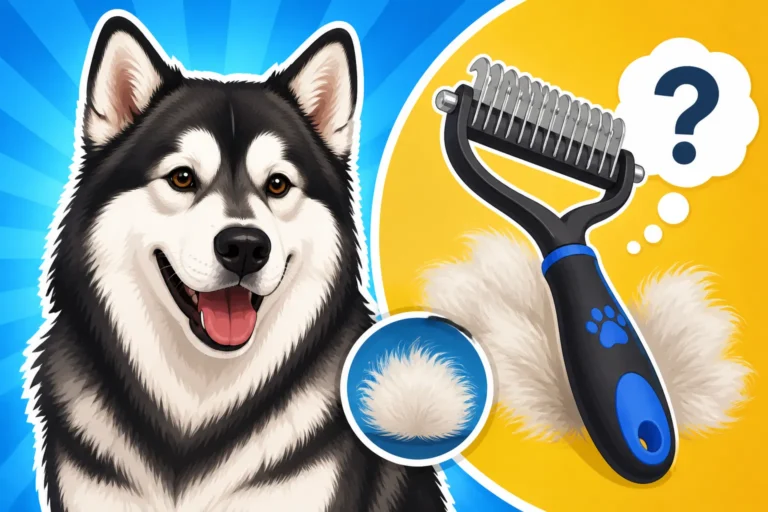
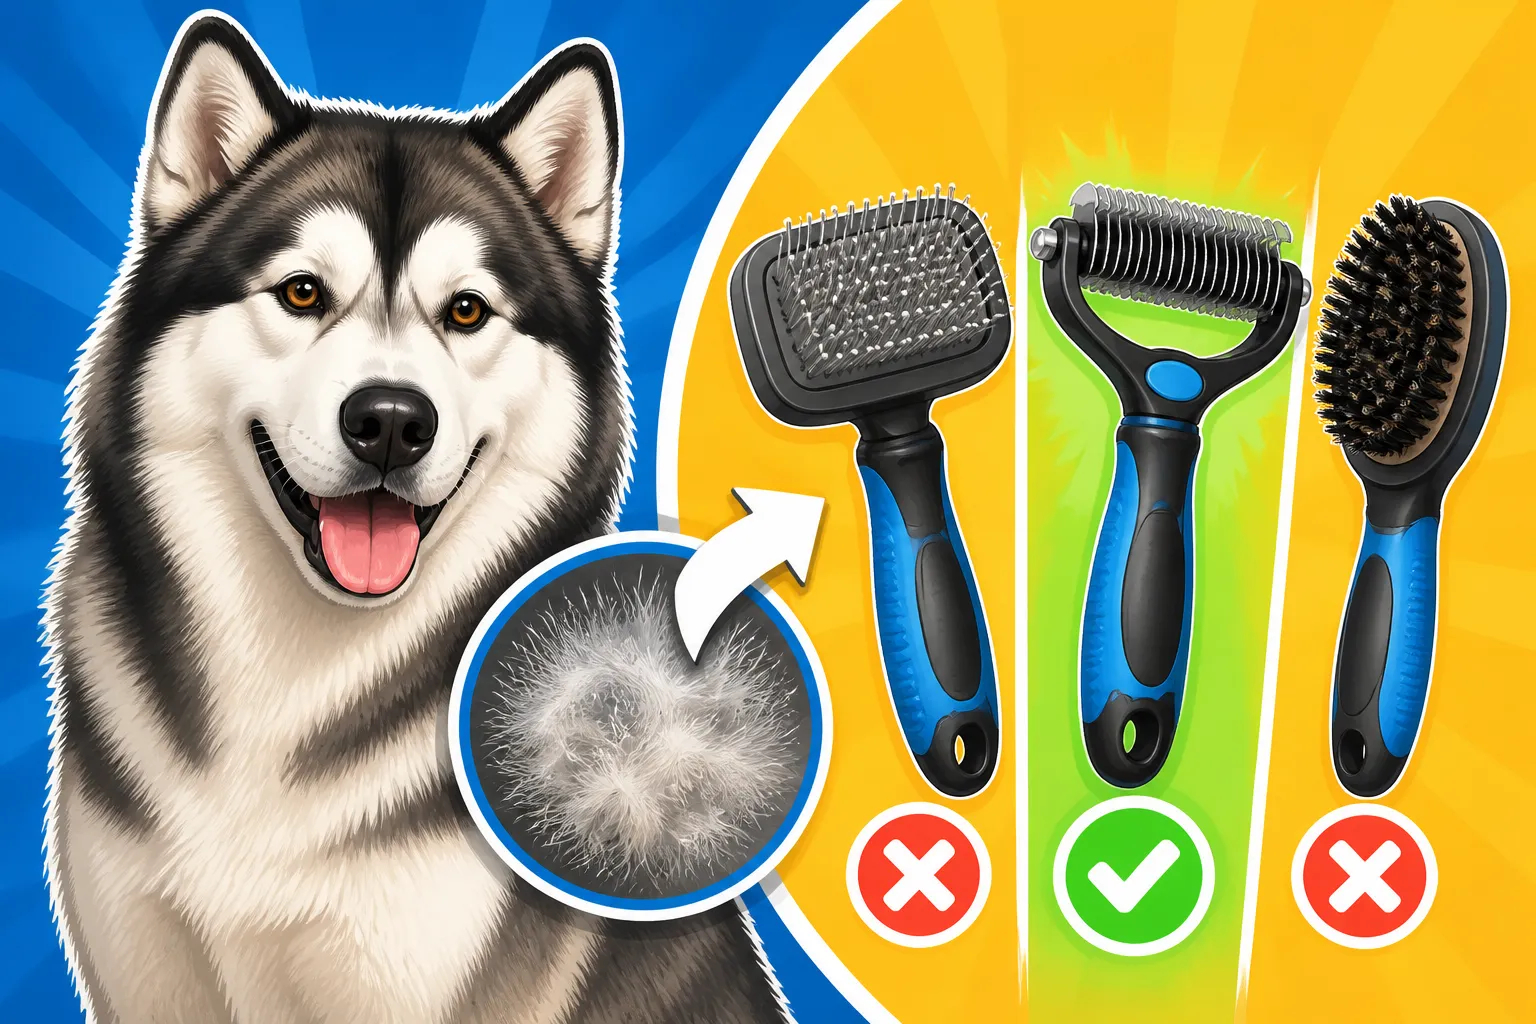
If there's one tool that every Malamute owner absolutely must have, it's a good quality undercoat rake. This isn't the same as a regular comb. An undercoat rake typically has a single or double row of widely spaced, long metal teeth designed to penetrate through the coarser outer guard coat and reach deep into the dense undercoat. The teeth are often curved or hooked at the ends to effectively grab and pull out loose, dead undercoat without damaging the topcoat or scratching the skin.
Using an undercoat rake is a game-changer during coat blow. You'll be amazed at the amount of hair this tool can remove. Look for one with a comfortable handle, as you'll be spending some time with it. There are various brands available on platforms like Chewy and Amazon, and checking reviews from other Malamute owners can help you find a durable and effective option. Proper use involves gently raking with the direction of hair growth, starting from the head and working your way down, being extra careful around sensitive areas. It's crucial not to drag or pull too hard, as this can cause discomfort. This tool is instrumental in managing How Much Undercoat Comes Off an Alaskan Malamute.
The Versatile Helper: Slicker Brush
While the undercoat rake is for the deep work, a slicker brush is your go-to for tangles, smaller mats, and smoothing out the topcoat. Slicker brushes have a flat or curved head covered in fine, short wires that are angled slightly. They are fantastic for teasing out knots in the outer coat and can help catch some of the looser undercoat that's closer to the surface.
You might use a slicker brush on areas where the undercoat rake might be too harsh or bulky, such as the feathering on the legs or tail. They are also useful for fluffing up the coat after a good raking. However, be cautious: the fine wires can be sharp if used with too much pressure, potentially irritating your Malamute's skin. Always use a light touch, especially on sensitive areas like the belly or armpits. A high-quality slicker brush can really make a difference in keeping your Malamute looking neat and tidy between major shedding episodes.
The Heavy Hitter: Deshedding Tool
These tools, often recognized by their distinctive blade-like edge with tiny teeth, are designed specifically to remove a massive amount of dead undercoat. While some brands are very popular (you know the one I'm talking about), many companies make similar versions. They work by getting beneath the topcoat and gently stripping out loose undercoat hairs that are ready to fall out.
Deshedding tools are incredibly effective, especially during heavy coat blow. They can dramatically reduce the amount of shedding in your home. However, they come with a word of caution: overuse or improper technique can damage the healthy guard hairs, thin the coat too much, or even cause skin irritation. It's best to use these tools sparingly – perhaps once or twice a week during peak shedding season, and less frequently otherwise. Always read the instructions carefully and use short, gentle strokes. Combined with a good undercoat rake, a deshedding tool can make the battle against shedding much more manageable. You can often find a variety of these tools on Chewy, making it easy to compare features and read customer reviews.
Techniques for Effective Undercoat Removal
Having the right tools is only half the battle; knowing how to use them effectively and establish a routine is just as important. A consistent approach will make grooming sessions more pleasant for both you and your Malamute.
Establishing a Brushing Routine
For most of the year, a Malamute will benefit from brushing 2-3 times a week, just to keep the coat tidy and prevent minor tangles. However, when the coat blow hits, you might find yourself brushing daily, or at least every other day, for weeks on end. It's a commitment, but it's absolutely necessary. How Often an Alaskan Malamute Needs Brushing really depends on the time of year and their individual shedding cycle.
Start brushing your Malamute when they are a puppy to get them accustomed to the process. Make it a positive experience with treats and praise. Choose a calm time and a comfortable spot. Many Malamutes love the attention, especially if they associate it with positive reinforcement. Break up grooming sessions if your Malamute has a short attention span, working on one section of their body at a time. The goal is to remove as much dead undercoat as possible without causing stress or discomfort.
Step-by-Step Undercoat Attack
Here’s a general approach to tackling that formidable undercoat:
- Prepare Your Malamute: Start with a calm dog. A short walk beforehand can help them settle. Lay them on a comfortable mat or use a grooming table if you have one. Have all your tools ready – undercoat rake, slicker brush, de-shedding tool, a wide-toothed comb for checking your work, and plenty of treats.
- Start with the Undercoat Rake: Begin by gently raking through the coat, working in small sections. Always go with the direction of hair growth. Start from the head and neck, move to the back and sides, then down the legs. Lift sections of the coat to get to the root of the undercoat. You'll literally see handfuls of fluffy hair come out. Be extra gentle around the ears, tail, and sensitive areas like the armpits and groin. Take your time to get deep into the coat without scraping the skin.
- Address Tangles with a Slicker Brush: If you encounter any mats or stubborn tangles, switch to your slicker brush. Gently work through them, starting from the ends and slowly working your way towards the skin. Never pull harshly on mats; doing so can be painful and damage the coat. If a mat is too tight, you might need to carefully cut it out with blunt-nosed scissors, but always use extreme caution and, if unsure, consult a professional groomer.
- Finish with a Deshedding Tool (if needed): Once the bulk of the loose undercoat has been removed with the rake and any tangles are gone, you can use your deshedding tool. Use light, even strokes, making sure not to press down too hard. Again, work in sections and marvel at the additional hair this tool removes. Remember, this tool is powerful, so don't overdo it.
- Check Your Work with a Wide-Toothed Comb: After using the brushes, take a wide-toothed comb and try to run it through the coat from skin to tip. If the comb glides smoothly, you've done a great job! If it snags, go back with your rake or slicker brush to those areas. This final check is crucial for ensuring no undercoat is left to cause problems.
- Praise and Reward: End every grooming session with lots of praise, cuddles, and a special treat. This reinforces a positive association with grooming, making future sessions easier.
| Brush Type | Primary Use | Key Benefits | Considerations |
|---|---|---|---|
| Undercoat Rake | Deep removal of loose undercoat | Penetrates guard coat, highly efficient | Can pull if used too harshly; select appropriate tooth length |
| Slicker Brush | Detangling, smoothing topcoat, minor shedding | Good for mats, versatile | Wires can scratch skin if pressed too hard; not for deep undercoat |
| Deshedding Tool | Aggressive removal of dead undercoat in shedding | Very effective at reducing shedding | Can damage guard coat or irritate skin if overused; use sparingly |
| Wide-Toothed Comb | Final check for tangles and thoroughness | Ensures all layers are clear of knots and loose hair | Not for primary removal; used after other brushes |
Common Mistakes to Avoid
- Brushing a Dry, Matted Coat: Always ensure the coat is clean and relatively tangle-free before bathing or using strong deshedding tools. Wetting a matted coat will only tighten the mats, making them much harder, and often impossible, to remove without shaving.
- Applying Too Much Pressure: Your Malamute's skin is sensitive. Too much pressure with any brush can cause irritation, brush burn, or discomfort. Always use a light, gentle hand.
- Overuse of Deshedding Tools: While effective, these tools can strip healthy coat if used too often or too aggressively. They are best reserved for peak shedding times.
- Neglecting Sensitive Areas: Behind the ears, under the legs, and the tail are prone to matting. Be diligent but gentle in these spots.
- Shaving Your Malamute: This is a big no-no! Why an Alaskan Malamute Must Never Be Shaved is a crucial piece of information. Their double coat provides insulation against both cold and heat. Shaving can disrupt their natural temperature regulation, expose their skin to sunburn, and often results in the undercoat growing back thicker and coarser, impacting the proper regrowth of the guard coat.
Beyond the Brush: Other Grooming Considerations
While brushing is the cornerstone of Malamute coat care, it's part of a larger picture of overall well-being. Thinking holistically about their care can help keep that magnificent coat in tip-top condition.
The Role of Baths and Force Dryers
Bathing your Malamute isn't just about getting them clean; it can be an excellent way to help loosen dead undercoat. A warm bath, followed by a good lathering with a quality shampoo and conditioner, can encourage shedding hairs to release. But here’s the critical part: drying. Air drying a Malamute's dense coat is an invitation to skin issues and mildew. You absolutely need a high-velocity force dryer.
A force dryer blasts air at a high speed, pushing water out of the coat and, more importantly, dislodging copious amounts of loose undercoat. It's truly amazing to see the cloud of hair that comes off even after thorough brushing. Using a force dryer after a bath, and even between baths as a "dry blow-out," can significantly reduce shedding and help ensure the skin is completely dry, preventing hot spots or other fungal issues. Many Malamute owners swear by this tool for shortening The Malamute Coat Blow That Fills a Vacuum in an Afternoon and making their lives much easier. You can find excellent force dryers on Amazon or Chewy, and they are a worthwhile investment for any Malamute family.
Diet and Skin Health
What your Malamute eats can have a direct impact on the health and quality of their coat and skin. A diet rich in essential fatty acids, particularly Omega-3s and Omega-6s, can promote a shiny coat, reduce dryness, and even help manage shedding. Look for high-quality dog foods that list these fatty acids. Some owners supplement their Malamute's diet with fish oil, which can be beneficial for skin and coat health.
If your Malamute has persistent skin issues, like excessive dandruff or dry, flaky skin, it could be a sign of a dietary imbalance or even a condition like zinc responsive dermatosis. Reading a Malamute's Skin Before the Crusts Appear is important for early detection. A diet that supports healthy zinc absorption is also vital for Malamutes prone to certain skin conditions. Always consult your vet if you notice ongoing skin problems, as diet changes or supplements should be discussed with a professional. Brands like Ollie, known for their fresh food options, may offer beneficial dietary support depending on your dog's specific needs, but always check with your veterinarian first.
When to Seek Professional Grooming
Even with the best tools and a diligent routine, there might be times when professional grooming is a lifesaver. During severe coat blows, a professional groomer has industrial-strength dryers and specialized techniques that can get out more hair than you ever thought possible. They can also tackle tough mats safely, trim nails, and perform anal gland expressions – tasks some owners might prefer to delegate.
If your Malamute develops extensive matting, especially close to the skin, attempting to remove it yourself can be painful for your dog and risky (due to potential cuts). A professional groomer has the expertise to shave out mats safely and efficiently. Finding a groomer experienced with double-coated breeds like Malamutes is key, as they understand the unique needs of their coat and know Whether a Groomer Will Take a Malamute in Coat Blow. Don't hesitate to reach out to a pro if you're feeling overwhelmed or facing a challenge beyond your skill level. They are an invaluable resource for keeping your furry family member comfortable and looking their best.
Disclaimer
This article is for general informational purposes only and does not constitute professional advice. Laws, prices and regulations vary by location and change over time. Consult a qualified professional for guidance on your specific situation.